
Modern homeowners and designers love the look and versatility of Slat wooden panels. These stylish wall panels add warmth, texture, and sophistication to any room, making them an increasingly popular interior design choice. But beyond their visual appeal, one of the biggest advantages of slat wooden panels is how simple they are to install. With the right tools and techniques, you can transform an ordinary wall into a stunning design feature in just a few hours.
Why Install Slat Wooden Panels Yourself
Installing slat wooden panels is a practical and rewarding project that can instantly elevate your home’s aesthetic. Whether you’re aiming for a sleek, modern vibe or a cozy, rustic atmosphere, these panels adapt to your style effortlessly. They also offer acoustic benefits, helping reduce echo and noise, while adding a natural touch to your space. Best of all, slat wooden panels can be installed without professional help, saving you time and money.
Preparing for Installation
Choose the Right Panels
Before starting, select slat wooden panels that suit your interior theme. At SlatSolution, you can choose from various finishes, wood tones, and slat widths. Light oak panels work well for bright, minimal spaces, while darker walnut tones bring depth and richness to contemporary rooms.
Measure Your Wall Accurately
Accurate measurement is the foundation of a successful installation. Use a measuring tape to determine the exact width and height of the area you’ll be covering. This ensures you purchase the right number of slat wooden panels and prevents gaps or misalignments later on.
Prepare the Surface
Make sure the wall is smooth, clean, and dry before installation. Remove dust, debris, or existing paint flakes. A well-prepared surface ensures that slat wooden panels adhere securely and maintain their perfect alignment over time.
Installation Methods for Slat Wooden Panels
1. Peel-and-Stick Panels
If you prefer a quick and mess-free installation, peel-and-stick slat wooden panels are ideal. Simply remove the backing adhesive and press the panels firmly against the wall. Start from one corner and work your way across, using a level to maintain straight lines.
Pro Tip: Apply even pressure as you go to ensure each slat wooden panel bonds securely to the wall.
2. Screw or Nail Mounting
For a more permanent installation, mount your slat wooden panels using nails or screws. This method works best for larger walls or panels with heavy wood. Drill small pilot holes first, then secure each panel with evenly spaced screws. Countersink the screw heads slightly for a clean, professional finish.
3. Clip or Track Systems
Some slat wooden panels come with advanced clip or track systems that make installation seamless. These systems allow you to easily attach and adjust panels without damaging the wall. This method is especially useful if you plan to remove or replace panels in the future.
Achieving Perfect Alignment
Start from the Center or Corner
Depending on your wall layout, start installing slat wooden panels from either the center or a corner for optimal balance. Starting from the center ensures symmetrical alignment, while beginning at a corner works best for continuous wall designs.
Use a Level and Spacers
Keep a level handy to maintain straight horizontal or vertical lines. Spacers help ensure even gaps between each slat wooden panel, giving your wall a uniform and polished appearance.
Cut Panels to Fit
When you reach the edges or corners of a wall, you may need to trim some panels. Use a fine-tooth saw or electric cutter for precise cuts. Measure twice before cutting to maintain a flawless fit.
Finishing Touches
Seal the Edges
Once all slat wooden panels are installed, use wood sealant or finishing trim to cover exposed edges. This creates a clean, professional border and protects the ends of the wood from moisture or damage.
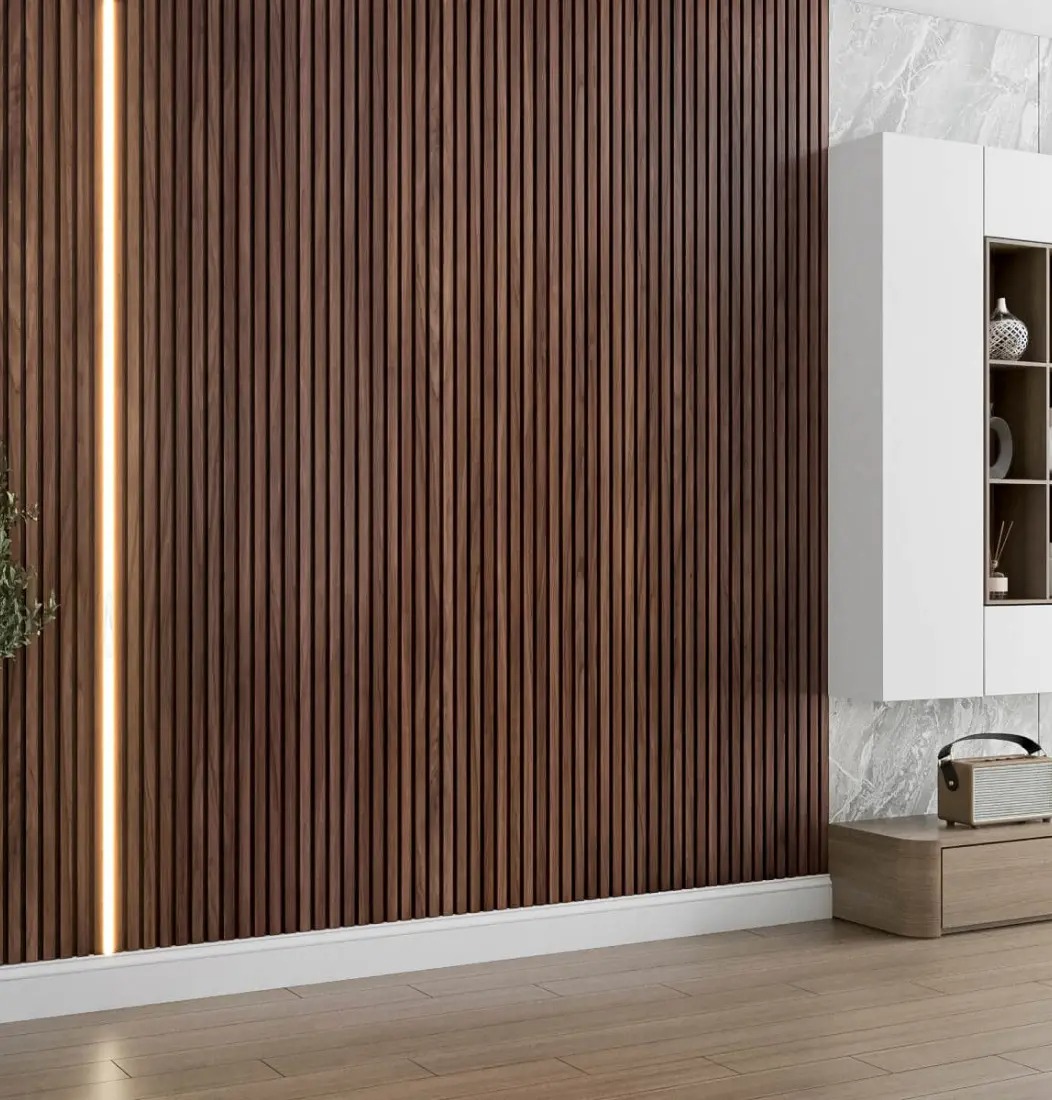
Add Lighting for Extra Effect
Lighting enhances the beauty of slat wooden panels. Install LED strip lights along the top or behind the panels to highlight their texture and depth. The combination of wood grain and soft lighting adds a warm, luxurious feel to any room.
Clean and Polish
Wipe down your newly installed slat wooden panels with a soft, dry cloth to remove dust or fingerprints. Avoid using harsh cleaners, as they may dull the finish. A gentle polish enhances the wood’s natural luster and ensures your panels look their best.
Maintenance Tips for Long-Lasting Results
To keep your slat wooden panels looking beautiful for years, maintain them regularly. Dust them weekly with a microfiber cloth and avoid direct exposure to sunlight for prolonged periods. If your panels are in a humid area, such as a kitchen or bathroom, ensure good ventilation to prevent moisture buildup.
Common Mistakes to Avoid
- Skipping measurements: Always double-check dimensions before cutting or installing.
- Ignoring alignment: Misaligned panels can ruin the entire look. Use a level throughout the process.
- Rushing installation: Take your time—proper alignment and pressure ensure durability and visual perfection.
Conclusion
Installing slat wooden panels is one of the easiest ways to enhance your home’s interiors with warmth, texture, and modern elegance. With just a few tools and some careful planning, you can achieve a professional-quality result that instantly upgrades your space. Whether you choose peel-and-stick, screw-mounted, or clip-in panels, the process is simple and satisfying.
At SlatSolution, we offer a wide range of high-quality slat wooden panels designed for both convenience and beauty. Explore our collection to find panels that fit your vision, and bring a touch of natural luxury to your home. With slat wooden panels, elegant design truly becomes effortless.